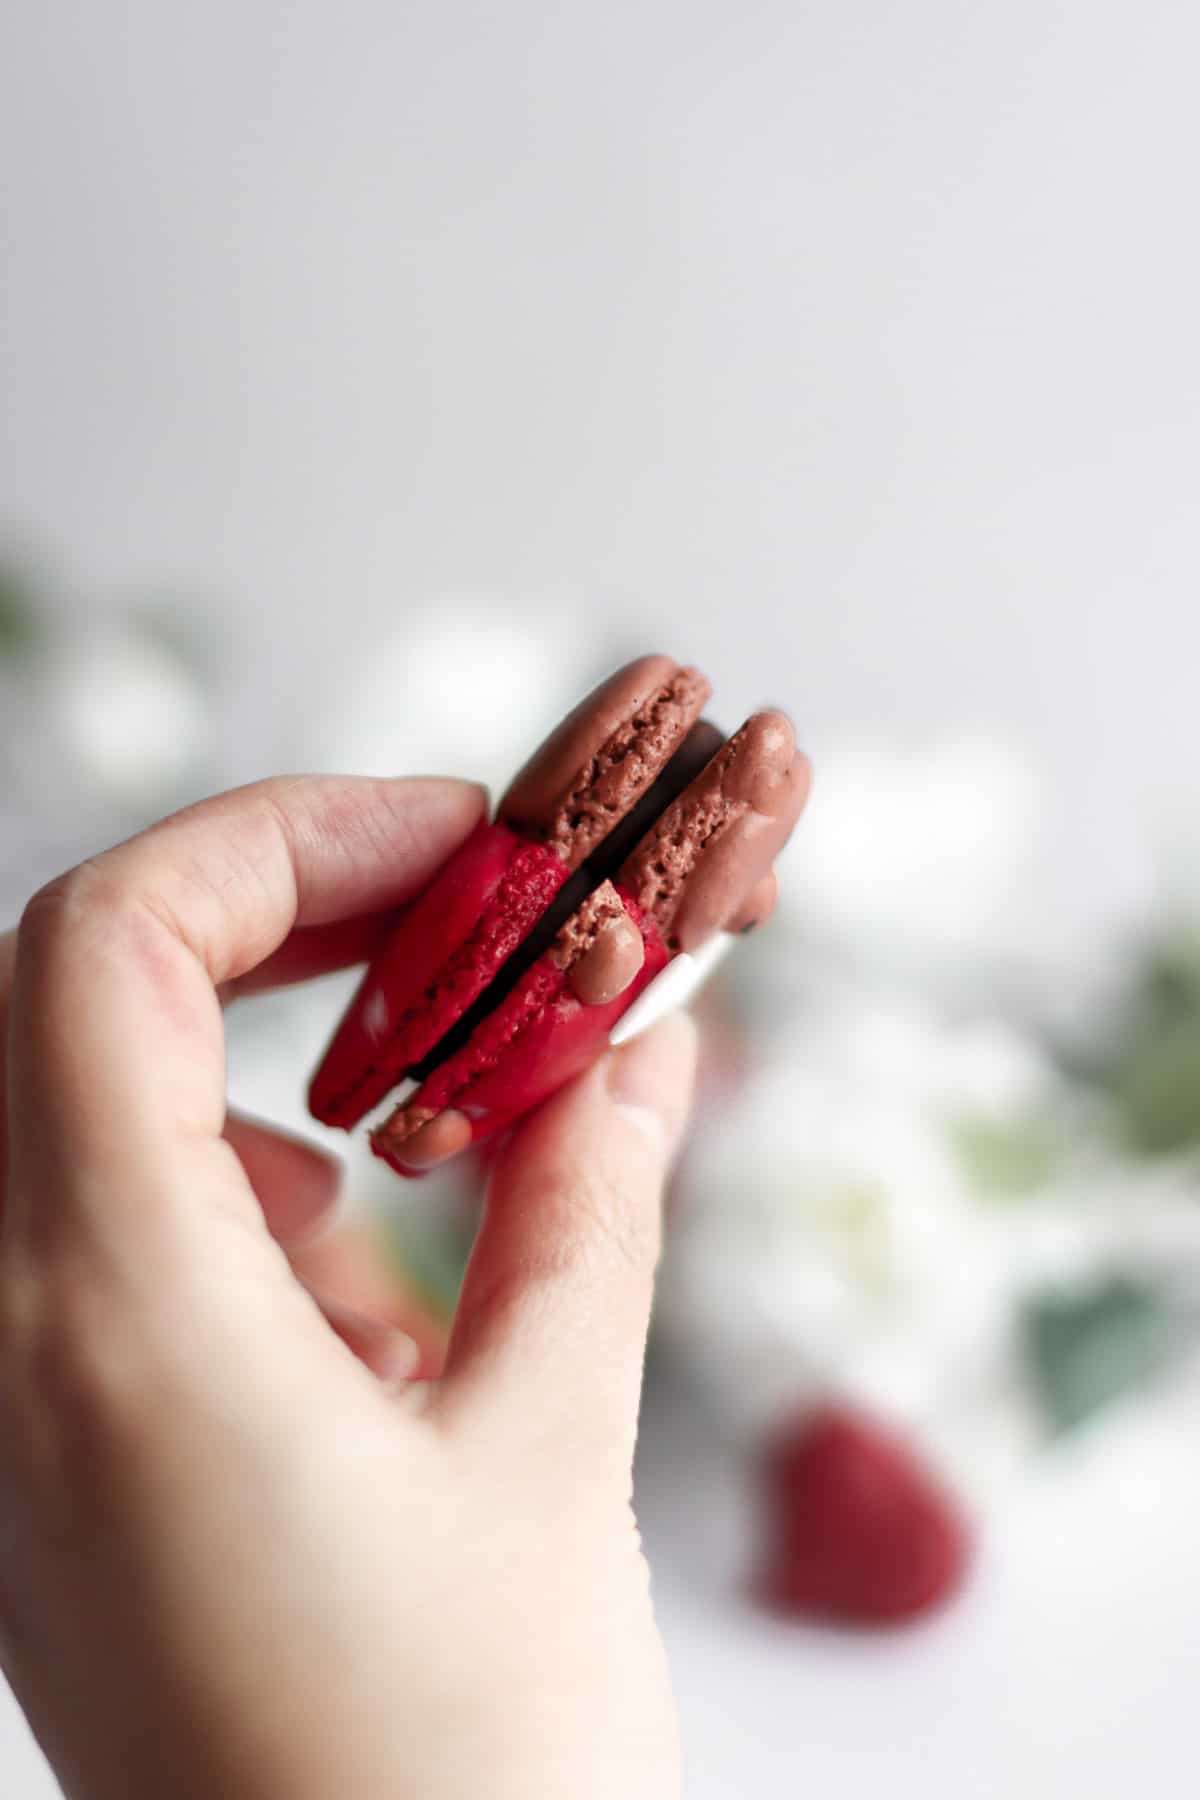
These cute macarons in the shape of a bear holding a big heart will make the perfect Valentine’s Day gift for your special person. They’re filled with a chocolate ganache to be even more irresistible.

If you’re here, you’re probably part of those who enjoy celebrating V-Day and you’re still on the hunt for some romantic treat ideas, are you? Or you’ve just been attracted by the SUPER CUTENESS of this bear staring at you?
To tell you the truth, I enjoy making these sorts of cute treats anytime and any day of the year. I have a weakness for everything cute (you probably already guessed by the title of my blog) it just makes me happy : )
This year I felt like going away from the usual and creating some savory dishes for V-Day. But deep inside I’ve had this craving to make some cute macarons for a while. So I thought to myself, ok now is THE time, leave the romantic savory meal for next year.
So here they are, fresh out of the oven! I introduce you to my Valentine’s Bear! You’ll find my FREE template here.
When making traditional circular macarons, I normally use French meringue. The easiest of all. If you’re interested, check my Mandarin Chocolate Macarons recipe, you’ll find all the ingredients I use as well as step-by-step tips to make foolproof easy macarons.
But, when I go venture into macaron design, I prefer using the Swiss meringue method which is more stable than the French meringue.

What is the difference between French, Italian and Swiss meringue?
French meringue is the simplest and quickest one to make but is less forgiving in terms of mistakes. The meringue is more delicate than the Italian one. Its consistency is mellow inside and crispy on the outside. This method consists in beating sugar and egg whites together until you obtain airy and firm egg whites.
Italian meringue is a little more technical and consists in heating up sugar and water to make a syrup poured into egg whites while beating. A thermometer is used to control the temperature of the syrup. It is the most stable of all meringues. In terms of taste and consistency, the Italian meringue is sweeter and less chewy than the French one.
Swiss meringue is an in-between the French and Italian methods in terms of complexity. This technique consists in beating egg whites and sugar over a bain-marie for the start and then finishing out of heat just like the French meringue. As a result, the egg whites become very dense and shiny. Its consistency is more firm, and less delicate than the French meringue.
Which equipment do I need to make these bear+heart macarons?
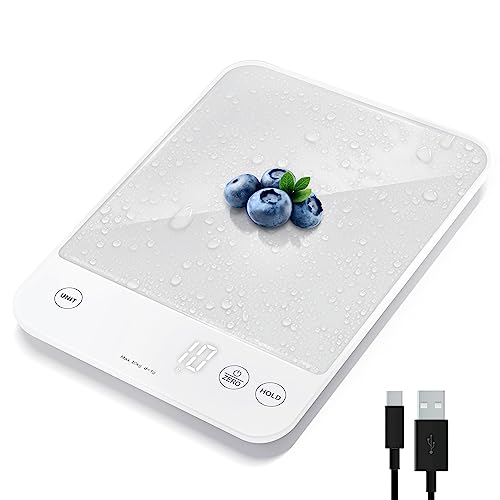
- scale – you cannot do without a scale, ingredients quantities cannot be approximate. It is not recommended to use cups and spoons for measuring.
- food processor – not necessary if you buy almond powder already finely ground and made specifically for macarons. But for general almond powder from the store, it is always safer to use a food processor to grind it further and get it as fine as possible.
- hand mixer or stand mixer – compulsory for beating egg whites, don’t even consider a whisk you will not get whites firm enough even with the strongest muscles in the world. Note that some stand mixers even at their maximum power aren’t powerful enough to beat very firm egg whites. A trusted brand for this purpose is Kitchenaid. Hand mixers on the contrary always work well but require you to stand and hold it all along.
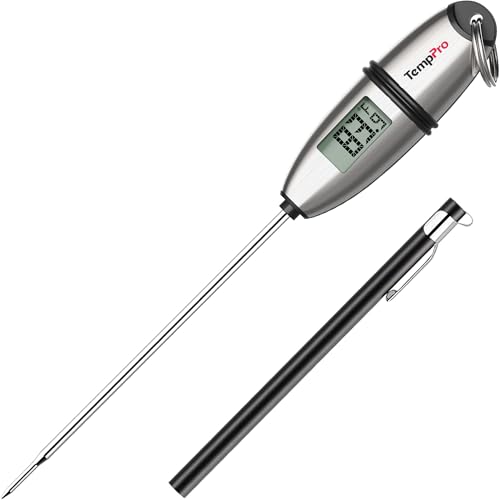
- cooking thermometer – to make Swiss meringue, your whites will need to reach 50°C / 122 °F so it is important to use a cooking thermometer to check when the temperature is reached.
- whisk – for beating the egg whites over bain-marie.
- piping bag + nozzle – you will need three nozzles. 2 x nozzles (diameter: 6mm / 0.24 inch) for drawing the heart and the bear’s face and 1 x nozzle (diameter: 3mm / 0.12 inch) to draw ears, nose, hands and feet. I use a piping bag with interchangeable nozzles so that I can just switch nozzles when using the same meringue color but different sizes are required.
- spatula – necessary for the macaronnage process (folding the meringue)
- sieve – to ensure a smooth meringue, almond powder and icing sugar must be sifted to remove any big chunks.
- baking paper – lay macaron shells on baking paper.
- baking tray – I like to use a perforated baking tray, it helps air circulate better.
- toothpicks – since I’m no macaron artist expert, it isn’t always easy to get the perfect shapes right away. So my trick is to use a toothpick to spread the meringue and have it fit the desired shape.

What ingredients do I need to make these bear+heart macarons?
- almond powder – sometimes you can find very coarse almond powder in some supermarkets. Make sure you buy the fine one. Some patisserie tool shops even sell extra fine almond powder made specifically for macarons.
- icing sugar – known as confectioners sugar in the US. Do not use any other type of sugar, granulated / caste sugar is too coarse.
- egg whites – do not use cold eggs just out of the fridge. Egg whites must be at room temperature. Cold white is harder to raise and beat and tends to spread out while baking.
- caster sugar – make sure to buy the extra fine sugar.
- gel food coloring – the best food coloring for macarons is either gel or powder. Do NOT use liquid food coloring, that will liquefy your meringue. I use this food coloring purchased on Amazon, they are very pigmented so you can quickly reach the desired color shade.
- black edible food coloring pen – use some edible food coloring markers to draw the bear’s eyes and nose. I purchase these from Amazon, they work great.

How to make these bear+heart macarons?
Make the chocolate ganache
- Using a knife, shred the chocolate into thin pieces. Transfer the chocolate to a bowl.
- In a saucepan, add cream. Bring it to a boil.
- Pour the cream over the chocolate and combine together until smooth.
- Let the ganache cool down, then refrigerate for at least 5h until the ganache has hardened.
Prepare the meringue
- In a food processor, add almond powder and icing sugar then process to make them as fine as possible. Do not overmix, it could become a paste.
- Place egg whites and caster sugar in a glass or metal bowl. Place the bowl over a bain-marie and beat the whites using a whisk until their temperature reaches 50°C / 122 °F. Put in a cooking thermometer to check when the temperature is reached.
- Remove the bowl from the bain-marie.
- Transfer the mixture into the bowl of a stand mixer or keep it in your bowl if you’re using a hand mixer. On low speed, start beating the whites for 2-3 minutes or until big bubbles disappear.
- Increase to medium-high speed and keep beating for 3-4 minutes. Increase to high speed and keep beating until you see the meringue becomes very firm. When sufficiently firm, the meringue should agglomerate in the middle of the mixer whisks and you should obtain firm peaks when taking the whisks out.
- Sift all of the icing sugar/almond powder over the meringue. Discard any remaining bits.
- Using a spatula, start the macaronage process. Fold the meringue with the spatula against the borders of your bowl. No need to be gentle. This process will help break bubbles and smooth the meringue. Keep folding until the almond powder/icing sugar mix is fully integrated with the egg whites.
- Stop the macaronage process here. Separate the mixture equally into two bowls.
- In one bowl, add brown gel food coloring to the mixture. In the other bowl, add red gel food coloring. The gel food coloring quantities depend on the pigmentation of your food coloring. Keep adding gel food coloring until you obtain the desired color shade.
- Continue the macaronage process for both brown and red meringues.
- Keep folding with a spatula. Constantly check the consistency of the meringue. You can stop the macaronage (folding) once the meringue falls very slowly as a ribbon. You should be able to draw several “8” figures without the meringue breaking.
- Preheat the oven to 120°C (250°F). Use convection mode.
- Prepare your piping bags.
- Fill one piping bag with the red meringue (use a 6mm / 0.24 inch nozzle).
- Fill another piping bag with the brown meringue (use another 6mm / 0.24 inch nozzle). I use piping bags which have interchangeable nozzles. If you are using regular piping bags, separate the brown meringue into two piping bags (ratio ⅕ / ⅘). One with a 6mm / 0.24 inch nozzle to make the bear head, the other one with a 3mm / 0.12 inch to make the nose, ears, hands and feet.

Piping macarons (+- 21 macarons)
- Lay some baking paper over the macaron template and secure the sides of the baking paper to avoid it from slipping.
- Bear’s face: Pipe the brown meringue out (6mm / 0.24 inch nozzle) holding your piping bag vertically. Then cut the meringue by doing a quick circular motion to stop it from running.
- Heart: pipe the red meringue out (6mm / 0.24 inch nozzle) holding your piping bag vertically. Start at the top of the left side of the heart, and pipe the meringue down to the heart’s bottom. Do the same on the right side. After piping 3 hearts, use a toothpick to spread the meringue and make it fit the heart shape. Do this after piping 2 or 3 hearts, meringue dries quickly. If you pipe all of them first, it may be impossible to use the toothpick method afterwards as the meringue will have hardened.
- Ears/nose/hands/feet: pipe the brown meringue out (3mm / 0.12 inch) holding your piping bag vertically. Draw the ears, nose, hands and feet of the bear.
- Transfer the baking paper and macarons onto a baking tray. Tap the baking tray several times on a bench. That will get rid of extra air bubbles and smooth out the macaron surface.
- Place the macarons in your preheated oven. Turn off the heat to 0 but leave the convection fan on. Leave the oven door slightly open (2-3cm / 1 inch) and let the macarons dry for 2 minutes. This will dry the macaron shells instead of leaving them dry at room temperature for 1 hour. This process also gives shinier shells.
- After 2 minutes, close the oven door, increase the temperature to 130°C (265°F) and let the macarons bake for 10-14 minutes (depending on your oven) – my oven requires 13 minutes.
- Once baking time is up, turn off the heat and leave the macarons in the oven with an open door (2-3 cm / 1 inch) for 2 minutes.
- Take out the macarons. Let them cool down. Macarons should come off easily from the baking paper once cooled. If sticky, they’re undercooked.
- Once macarons have completely cooled down, use a black food coloring pen to draw the eyes and nose.
- Use a piping bag to fill them in with chocolate ganache.
- Place macarons in the refrigerator for at least one night, to give them some moisture. They’re best consumed after 2 days left in the refrigerator, the ganache will moisten the macaron shells.
How to store macarons?
Filled macarons can be refrigerated for 3 to 4 days. If for some reason, you wish to keep them longer, you can place them in an airtight container and freeze them. When serving, take the macarons out of the freezer and let them defrost at room temperature. You can keep macarons in the freezer for up to one month.

RECIPES IN YOUR INBOX? Don’t forget to subscribe to my newsletter to receive the latest recipe updates delivered for free directly to your inbox! Oh, and you will also find me on Youtube, Instagram, Facebook and TikTok. Come say hi and leave me a message, it is always a pleasure to connect with all of you!
Thanks so much for stopping by! xx


Valentine’s Day Bear with Heart Macarons
Ingredients
meringue
- 100 g almond powder
- 100 g icing sugar
- 80 g egg whites at room temperature
- 80 g caster sugar
- brown and red gel food coloring
- black edible food coloring pen
chocolate ganache
- 120 ml heavy cream
- 120 g dark chocolate
Instructions
Make the chocolate ganache
- Using a knife, shred the chocolate into thin pieces. Transfer the chocolate to a bowl.
- In a saucepan, add cream. Bring it to a boil.
- Pour the cream over the chocolate and combine together until smooth.
- Let the ganache cool down, then refrigerate for at least 5h until the ganache has hardened.
Prepare the meringue
- In a food processor, add almond powder and icing sugar then process to make them as fine as possible (Note 2). Do not overmix, it could become a paste.
- Place egg whites and caster sugar in a glass or metal bowl. Place the bowl over a bain-marie and beat the whites using a whisk until their temperature reaches 50°C / 122 °F. Put in a cooking thermometer to check when the temperature is reached.
- Remove the bowl from the bain-marie.
- Transfer the mixture into the bowl of a stand mixer or keep it in your bowl if you’re using a hand mixer. On low speed, start beating the whites for 2-3 minutes or until big bubbles disappear.
- Increase to medium-high speed and keep beating for 3-4 minutes. Increase to high speed and keep beating until you see the meringue becomes very firm (Note 1). When sufficiently firm, the meringue should agglomerate in the middle of the mixer whisks and you should obtain firm peaks when taking the whisks out.
- Sift all of the icing sugar/almond powder over the meringue. Discard any remaining bits.
- Using a spatula, start the macaronage process (Note 1). Fold the meringue with the spatula against the borders of your bowl. No need to be gentle. This process will help break bubbles and smooth the meringue. Keep folding until the almond powder/icing sugar mix is fully integrated with the egg whites.
- Stop the macaronage process here. Separate the mixture equally into two bowls.
- In one bowl, add brown gel food coloring to the mixture. In the other bowl, add red gel food coloring. The gel food coloring quantities depend on the pigmentation of your food coloring (Note 4). Keep adding gel food coloring until you obtain the desired color shade.
- Continue the macaronage process for both brown and red meringues.
- Keep folding with a spatula. Constantly check the consistency of the meringue. You can stop the macaronage (folding) once the meringue falls very slowly as a ribbon. You should be able to draw several “8” figures without the meringue breaking.
- Preheat the oven to 120°C (250°F). Use convection mode.
- Prepare your piping bags.
- Fill one piping bag with the red meringue (use a 6mm / 0.24 inch nozzle).
- Fill another piping bag with the brown meringue (use another 6mm / 0.24 inch nozzle). I use piping bags which have interchangeable nozzles. If you are using regular piping bags, separate the brown meringue into two piping bags (ratio ⅕ / ⅘). One with a 6mm / 0.24 inch nozzle to make the bear head, the other one with a 3mm / 0.12 inch to make the nose, ears, hands and feet.
Piping macarons (+- 21 macarons)
- Lay some baking paper over the macaron template and secure the sides of the baking paper to avoid it from slipping.
- Bear’s face: Pipe the brown meringue out (6mm / 0.24 inch nozzle) holding your piping bag vertically. Then cut the meringue by doing a quick circle motion to stop it from running.
- Heart: pipe the red meringue out (6mm / 0.24 inch nozzle) holding your piping bag vertically. Start at the top of the left side of the heart, and pipe the meringue down to the heart’s bottom. Do the same on the right side. After piping 3 hearts, use a toothpick to spread the meringue and make it fit the heart shape. Do this after piping 2 or 3 hearts, meringue dries quickly. If you pipe all of them first, it may be impossible to use the toothpick method afterwards as the meringue will have hardened.
- Ears/nose/hands/feet: pipe the brown meringue out (3mm / 0.12 inch) holding your piping bag vertically. Draw the ears, nose, hands and feet of the bear.
- Transfer the baking paper and macarons onto a baking tray. Tap the baking tray several times on a bench. That will get rid of extra air bubbles and smooth out the macaron surface.
- Place the macarons in your preheated oven. Turn off the heat to 0 but leave the convection fan on. Leave the oven door slightly open (2-3cm / 1 inch) and let the macarons dry for 2 minutes. This will dry the macaron shells instead of leaving them dry at room temperature for 1 hour. This process also gives shinier shells.
- After 2 minutes, close the oven door, increase the temperature to 130°C (265°F) and let the macarons bake for 10-14 minutes (depending on your oven) – my oven requires 13 minutes (Note 5).
- Once baking time is up, turn off the heat and leave the macarons in the oven with an open door (2-3 cm / 1 inch) for 2 minutes.
- Take out the macarons. Let them cool down. Macarons should come off easily from the baking paper once cooled. If sticky, they’re undercooked.
- Once macarons have completely cooled down, use a black food coloring pen to draw the eyes and nose.
- Use a piping bag to fill them in with chocolate ganache.
- Place macarons in the refrigerator for at least one night, to give them some moisture. They're best consumed after 2 days left in the refrigerator, the ganache will moisten the macaron shells.
recipe notes
- firm whites: beat the whites long enough so that they get firm enough. You know that they are firm enough when the whites agglomerate in the middle of your whisks. Even if your whites already hold when turning your bowl upside down, do not stop beating if whites have not agglomerated in your whisks yet. The whites won’t be firm enough, your meringue will likely be too runny.
- the macaronage: keep checking every time you fold 2-3 times if the meringue is slowly falling in like a ribbon. Then directly place the meringue in the piping bag and pipe out the macarons. If you do not fold enough, the meringue will be too thick. If you fold too much, the meringue will be too runny. In both cases, macarons won’t come out as they should. This is the importance of checking regularly if the meringue falls like a ribbon.
Equipment


Nutrition
The nutritional details provided on That Cute Dish are for informational purposes only and are automatically calculated. Please consider them as estimates rather than precise values, as ingredients and measurements can vary.