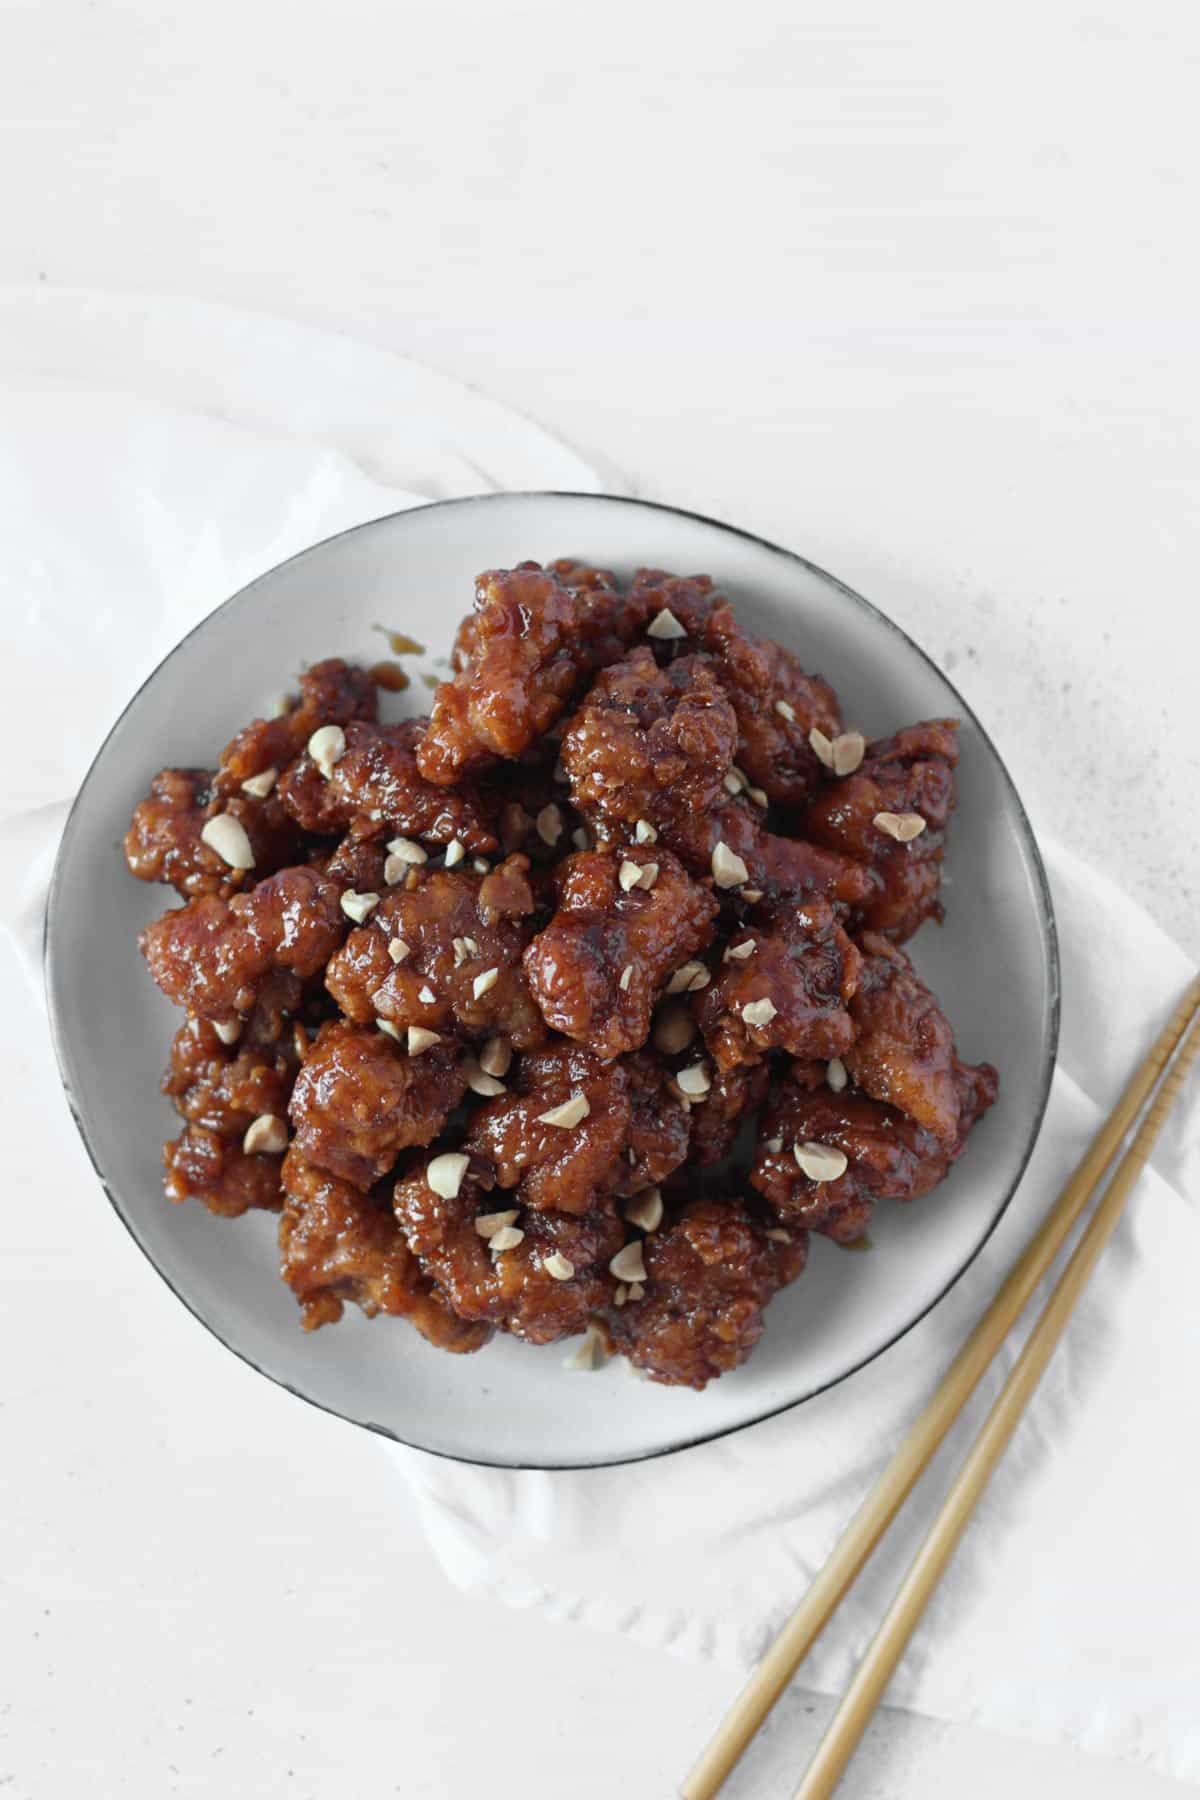
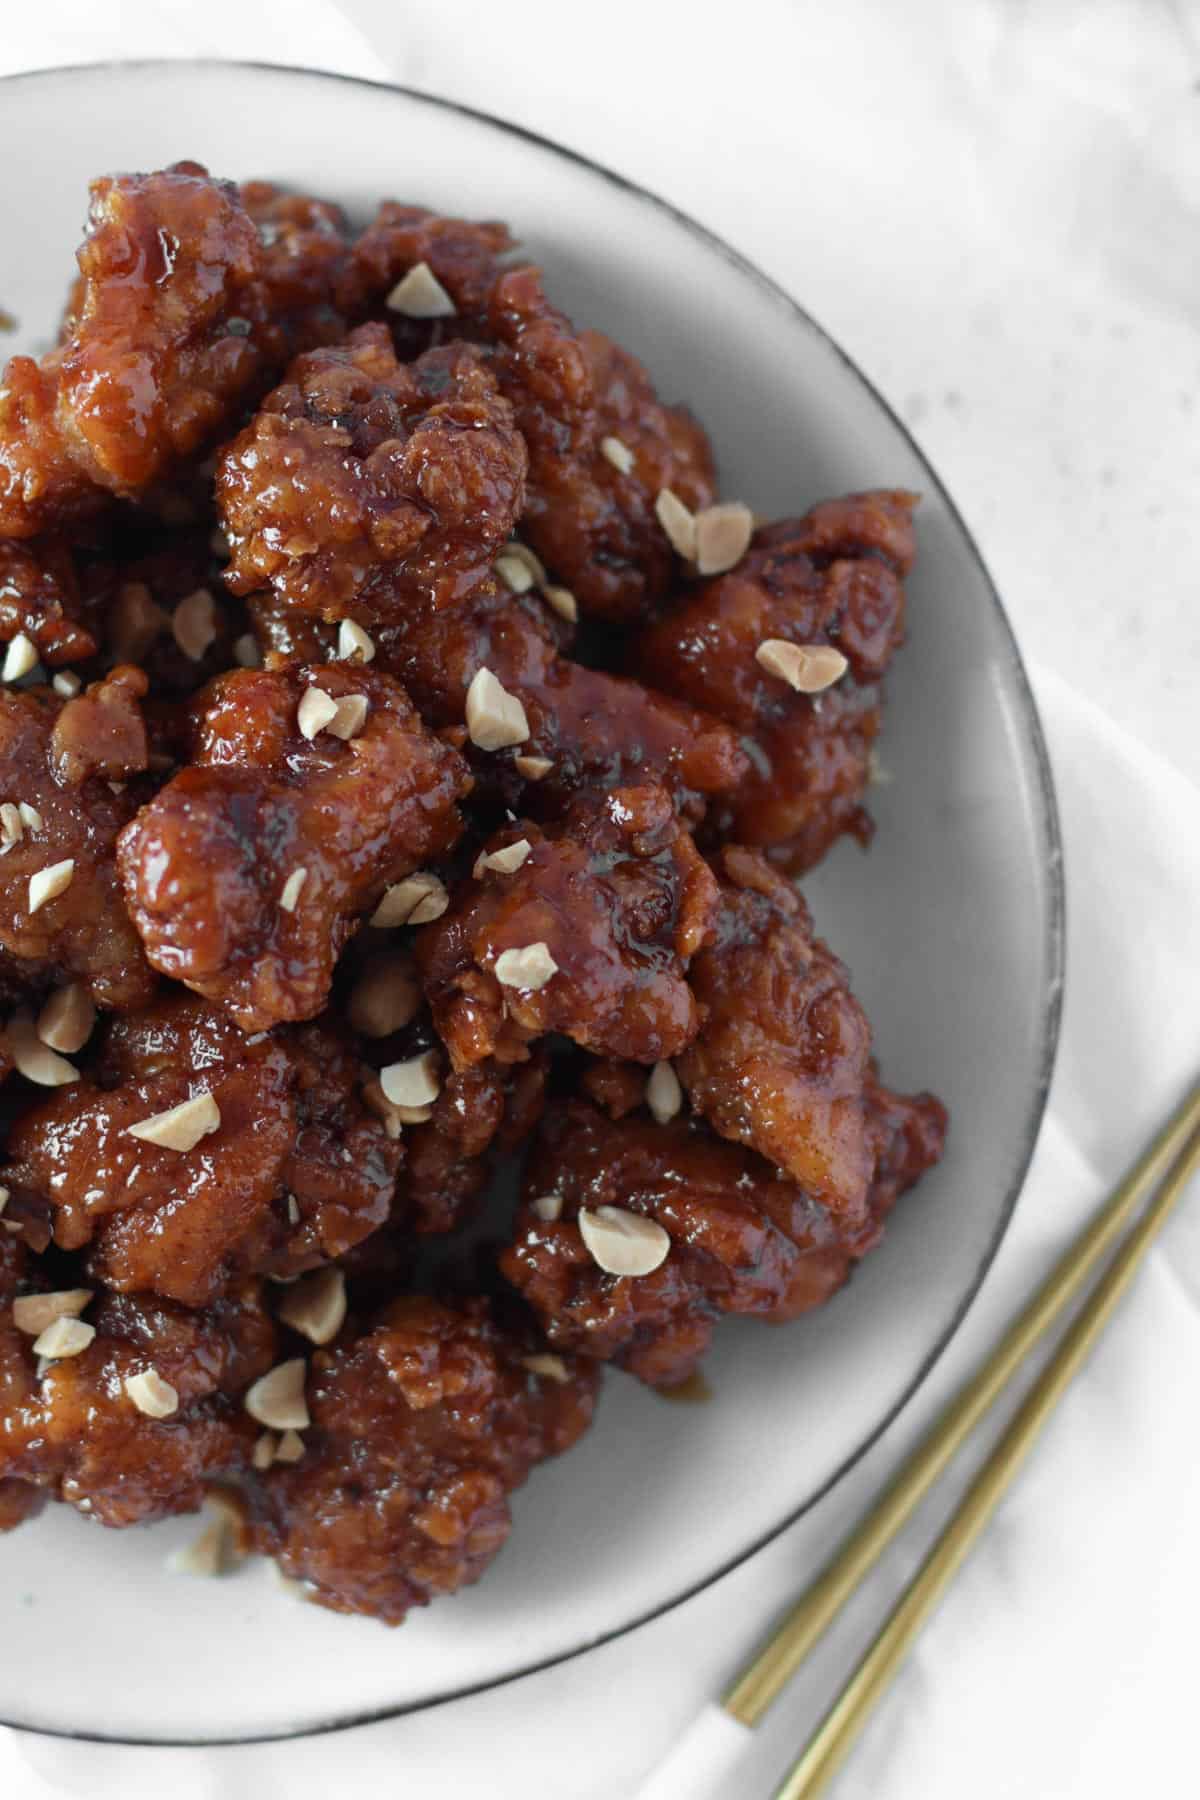
This soy garlic Korean fried chicken (dakgangjeong) is made with bite-sized chicken thighs fried until extra crunchy, then coated in a sticky garlic soy glaze. Add crushed peanuts on top for even more crunch.
Korean fried chicken is one of those foods pretty much everyone seems to love — and I say that as someone who isn’t even that into fried food 🙂
In Korea, fried chicken is everywhere. Back in Belgium, it wasn’t nearly as easy to find, so I started making my own and introduced it to friends and family who had never tried Korean fried chicken before.
This soy garlic version is the one I make when I don’t want anything spicy. The chicken is double-fried, coated in a sticky garlic soy glaze, then finished with crushed peanuts.
What is dakgangjeong?
Dakgangjeong (닭강정) is one type of Korean fried chicken. It’s usually made with bite-sized boneless chicken that is deep-fried twice for extra crispiness and then coated with a sticky sauce.
The term “dakgangjeong” is a combination of “dak” (닭) meaning chicken and “gangjeong” (강정) meaning a type of crunchy and sweet traditional Korean snack that is fried and coated in a sticky sauce.
In Korea, there’s also another type of chicken which is called yangnyeom chicken (양념치킨). In comparison to the latter, dakgangjeong sauce is thicker and more sticky since it often includes brown sugar and corn syrup. Dakgangjeong is also much crispier than yangnyeom chicken, which is why it is my favorite out of them both.
You’ll see different dakgangjeong flavors, but this soy garlic sauce and its spicy version are the main two varieties which you will find everywhere, in fried chicken restaurants, at street food stalls, etc.

Why you’ll love this recipe
Korean fried chicken vs. regular fried chicken
A few things make Korean fried chicken different from regular fried chicken:
- Double frying – Korean fried chicken is usually fried twice. The first fry cooks the chicken and sets the coating; the second makes the outside much crispier.
- Coating – Instead of breadcrumbs, Korean fried chicken often uses a flour-based coating. I use Korean fried chicken mix here, which contains flour, starch and seasonings.
- Sauce – This dakgangjeong is coated after frying in a sticky soy garlic sauce. It’s sweet and savory rather than spicy.
Ingredients

- Boneless chicken thighs – ensure you use boneless chicken thighs for a juicy and tender chicken. Do not use chicken breast as this will result in a much drier chicken.
- Garlic – season the chicken with garlic.
- Salt and pepper
- Korean fried chicken mix – this is a mix of flour, starch and seasonings made specifically for Korean fried chicken. I use it for both the batter and the outer coating.
- Frying oil – I usually fry in an old pan (don’t use your expensive everyday pan to fry since frying in a pan will take off the non-stick coating of your pan) but you can use a fryer.
- Unsalted peanuts – I love adding these on top for extra crunch. Use unsalted peanuts; salted ones make the chicken much too salty.
batter
- Korean fried chicken mix
- Cold water
TIP: For the batter, I use fried chicken mix/water ratio of 1½:1. This way, you’ll get a thick batter that will result in a thicker coating around your chicken bites. This is one of the two keys I found to keep my fried chicken crispy, not for a few hours, but until the next day. However, if you prefer a thinner batter, you can use a 1:1 ratio. Though, note that this will result in a slightly less cripsy batter.
NOTE: Be careful! Ready-made flours can vary significantly from brand to brand. Some absorb much more water than others. With Ottogi flour (the one I use most often), a flour-to-water ratio of 1½:1 (210g / 240ml) works perfectly. However, Beksul brand flour absorbs much more water, so in that case, it’s better to use a ratio of 1:1 (210g / 360ml).
If you’re using my homemade Korean fried chicken flour recipe, it will depend on the type of flour you’re using. Start with a flour-to-water ratio of 1:1. If the batter seems too runny, adjust to 1½:1.
soy garlic sauce
- Garlic – for this recipe, I used frozen Korean garlic which I find milder in taste. If using fresh garlic, use 2 tablespoons instead of 3.
- Soy sauce – use regular soy sauce. Make sure not to use dark soy sauce neither sweet soy sauce.
- Rice vinegar – rice vinegar adds a tangy flavor to the sauce.
- Brown sugar – don’t substitute with white sugar. Brown sugar adds a caramelized flavor to the sauce.
- Mulyeot (Korean corn syrup) – check my FAQ section to find out which substitutes are the best options if you can’t find mulyeot.
HOMEMADE KOREAN FRIED CHICKEN MIX
Can’t find premade Korean fried chicken mix? Here is my recipe to make your own Korean fried chicken mix with basic ingredients that you can find in any supermarket (or already have at home).
Preparation
Make the sauce
- In a bowl, combine all the sauce ingredients together.
Prepare the chicken
- Cut the chicken into small bite sizes (depending on how big you want them)
- Season the chicken pieces with minced garlic and a pinch of salt and pepper.
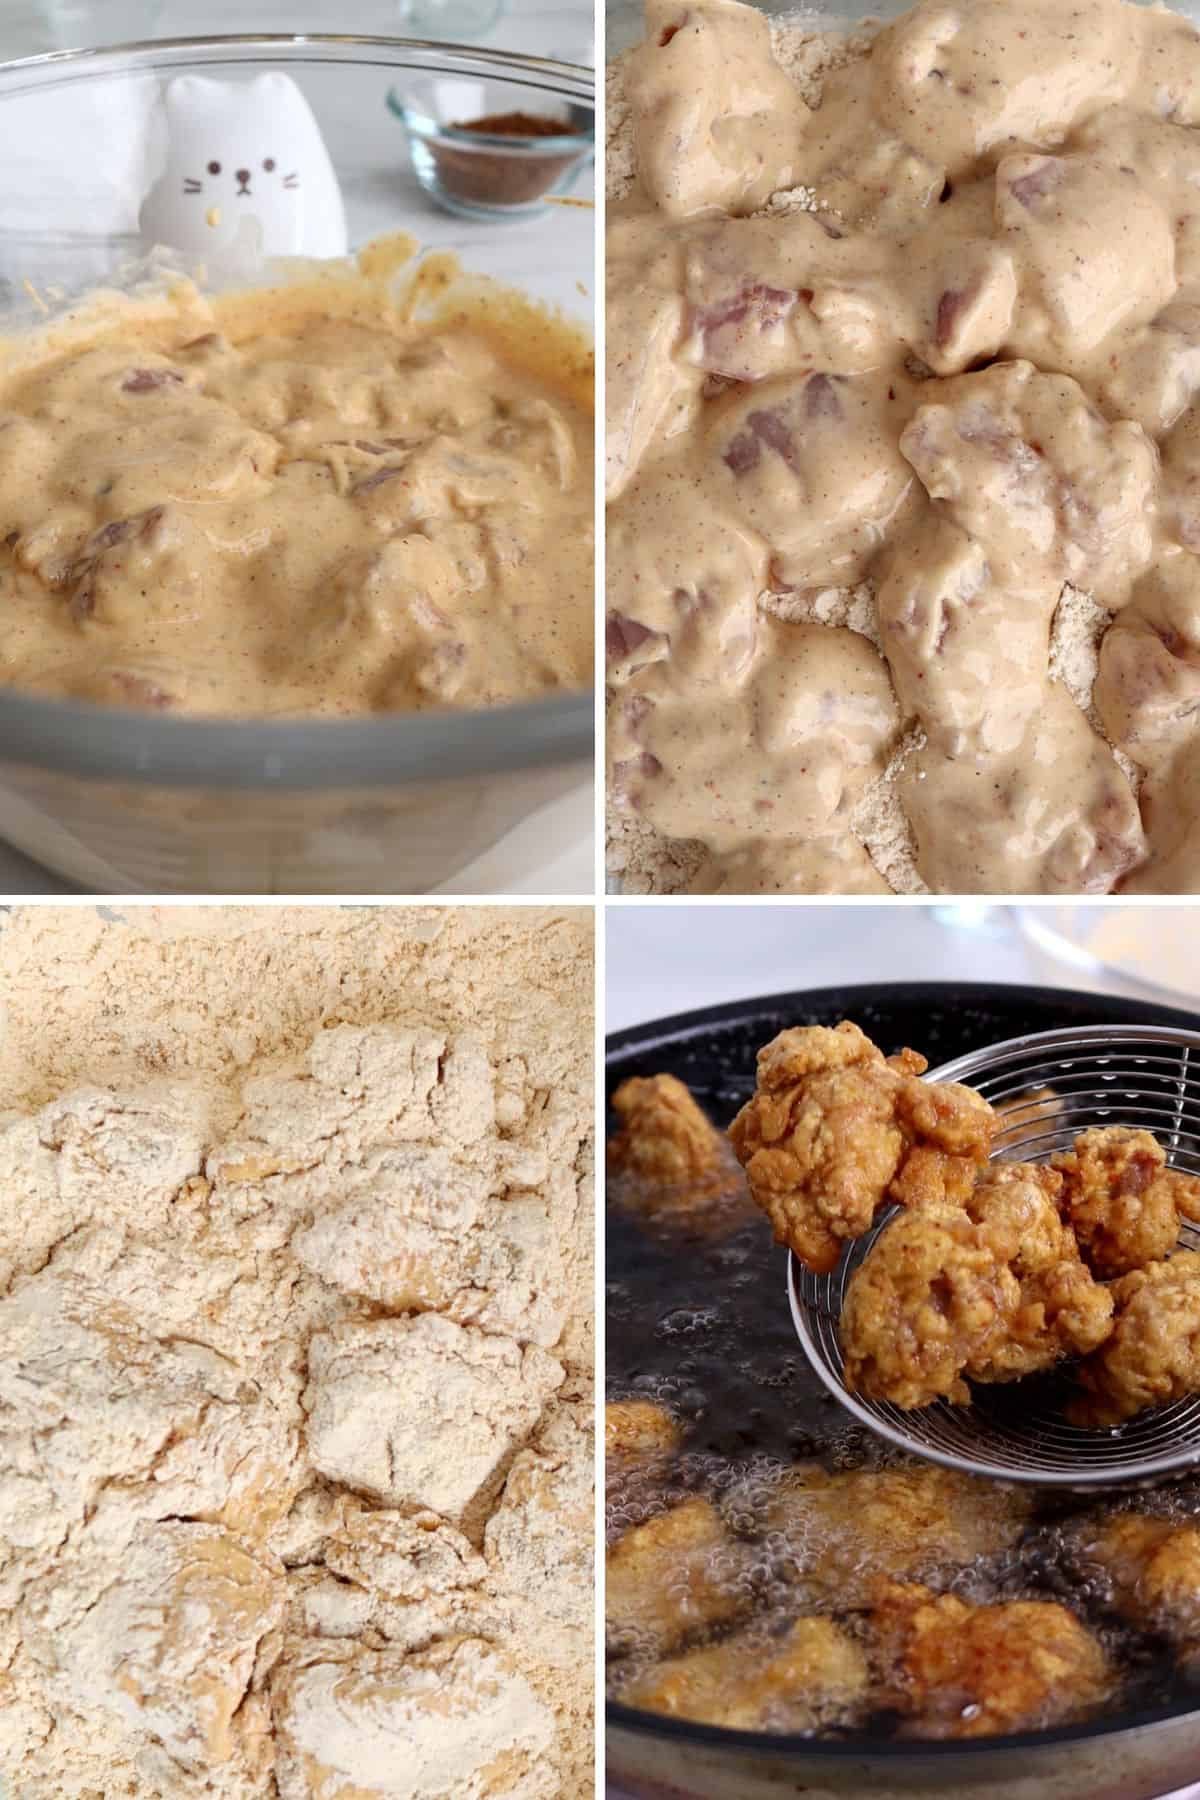
- In a big bowl, mix the Korean fried chicken mix with water.
- Add the chicken bites to the batter and coat the pieces well. Then drop the chicken pieces in a large container filled with fried chicken mix, close the lid and shake it well to coat all chicken pieces with the fried chicken mix (Note 2). Do this per batch according to the size of your container.
TIP: Coating the batter with extra Korean fried chicken mix is the second tip I found to make the batter extra crispy and keep the crunchiness until the next day.

Fry the chicken
- Heat up some cooking oil in a pan or a fryer. Fry the chicken at 160°C / 320°F for about 6 minutes or until ¾ cooked (Note 3). Do this per batch as all the chicken will not fit in your pan/fryer, plus your chicken bites may stick to each other if overcrowding your pan/fryer. Remove the chicken from frying oil and place it on a rack lined with paper towel to absorb excess oil.
- Increase the heat to 180°C / 360°F. Use the double frying method: fry the chicken a second time for 1 minute. Do this per batch also. The chicken should be golden brown. Since everyone has a different stove, and chicken may fry at a different speed according to your stove, cut one piece to check if the chicken is cooked inside. If not, fry it again a little longer.
Toss the chicken into the sauce
- In a pan, pour the sauce and heat it up on medium heat for 2-3 minutes or until the sauce has slightly thickened. Remove from the heat and add the chicken to the sauce. Using a kitchen brush, coat all pieces of chicken with the sauce.
- Sprinkle crushed peanuts immediately. Don’t wait until the sauce has cooled as the peanuts won’t stick as easily to the chicken.

How to serve this Korean fried chicken?
Korean fried chicken is often served with pickled vegetables such as Korean pickled radish to cut through the richness and add some crunch and tanginess to the meal.
Fried chicken in Korea is usually enjoyed with a beer. You may have heard of the term chimaek which is a contraction of two words: chicken and maekju (beer).
If you want to make it a full meal, feel free to also add a bowl of steamed rice.
How to store, freeze and reheat?
Storing
In case you have leftovers, you can store your fried chicken in an airtight container once it has cooled down to room temperature and place it in the refrigerator for up to 3 days.
Freezing
I usually never freeze fried chicken since it’s always gone in one go, but also because it’s best enjoyed when it’s just been fried. However, if you’d like to freeze it, place the chicken in a zip bag or airtight container and freeze for up to 2 months.
Reheating
Reheat in the oven at 180°C / 360°F for 10–15 minutes, until heated through and crispy again. For food safety, leftovers should reach 74°C / 165°F internally.
Emma’s tips
- For extra-crispy chicken, make a thicker batter and coat it with an extra layer of fried chicken mix before frying.
- Double-fry the chicken for an even crispier coating.
- Use a kitchen brush to coat each piece evenly with the sauce.
- Add the crushed peanuts while the sauce is still warm so they stick properly.
Recipe FAQ
Looking for more tasty fried food ideas?
PSSST… WANT COZY RECIPES?
If you make this recipe, leave a comment and a ★ rating to share what you thought. It really helps me keep bringing you new recipes!
Don’t forget to sign up for my newsletter and get your free ebook with 8 authentic Korean recipes, plus my latest recipes straight to your inbox.
Soy Garlic Korean Fried Chicken – Dakgangjeong
Save This Recipe!
I’ll email you this recipe so you can come back to it anytime — plus, more delicious recipes in your inbox.
Ingredients
- 500 g boneless chicken thighs
- 1 tbsp minced garlic
- salt and pepper
- 140 g Korean fried chicken mix (Note 1) | for coating
- a bottle of cooking oil
- 20 g unsalted peanuts , chopped (optional)
batter
- 210 g Korean fried chicken mix (Note 2)
- 240 ml cold water (Note 3)
soy garlic sauce
- 3 tbsp minced garlic
- 5 tbsp soy sauce
- 2 tsp rice vinegar
- 5 tbsp brown sugar
- 240 g mulyeot | Korean corn syrup (Note 5)
Instructions
Make the sauce
- In a bowl, combine all the sauce ingredients together.
Prepare the chicken
- Cut the chicken into small bite sizes (depending on how big you want them)
- Season the chicken pieces with minced garlic and a pinch of salt and pepper.
- In a big bowl, mix the Korean fried chicken mix with water.
- Add the chicken bites to the batter and coat the pieces well. Then drop the chicken pieces in a large container filled with fried chicken mix, close the lid and shake it well to coat all chicken pieces with the fried chicken mix (Note 2). Do this per batch according to the size of your container. This step will make your fried chicken extra crunchy.
Fry the chicken
- Heat up some cooking oil in a pan or a fryer. Fry the chicken at 160°C / 320°F for about 6 minutes or until ¾ cooked (Note 4). Do this per batch as all the chicken will not fit in your pan/fryer, plus your chicken bites may stick to each other if overcrowding your pan/fryer. Remove the chicken from frying oil and place it on a rack lined with paper towel to absorb excess oil.
- Increase the heat to 180°C / 360°F. Use the double frying method: fry the chicken a second time for 1 minute. Do this per batch also. The chicken should be golden brown. Since everyone has a different stove, and chicken may fry at a different speed according to your stove, cut one piece to check if the chicken is cooked inside. If not, fry it again a little longer.
Toss the chicken into the sauce
- In a pan, pour the sauce and heat it up on medium heat for 2-3 minutes or until the sauce has slightly thickened. Remove from the heat and add the chicken to the sauce. Using a kitchen brush, coat all pieces of chicken with the sauce.
- Sprinkle crushed peanuts immediately. Don't wait that the sauce has cooled as the peanuts won't stick as easily to the chicken.
recipe notes
Video
Nutrition
The nutritional details provided on That Cute Dish are for informational purposes only and are automatically calculated. Please consider them as estimates rather than precise values, as ingredients and measurements can vary.